Saturday, July 29, 2017

Week 8 – Bounty at the Beach

This week’s box

2 Zucchini
a bag of apples (can you believe we get apples this early!)
a bag of Nectarines
a bag of Peaches
a bag of yellow beans
1 head of lettuce
1 large onion
1 pint of cherry tomatoes
a bag of potatoes


Today’s question is relatively simple…what do you do with your box when you go away on vacation?  Ideally, you take as much bounty with you as possible.  Some items like potatoes and zucchini travel long distances well.  After all, this is how most grocers get their produce.  It can be grown half way around the world and shipped.  Items like berries and other fruit are more delicate, and require more TLC to make a long journey intact.

Fortunately, if travelling with fresh food isn’t your thing, Great Country Farms allows for vacations.  You can defer delivery of your box, and get two for a later week.  You just have to call or fill out the online form.  Which we didn’t do…which raises the question…What do I do with this box when I am on vacation.

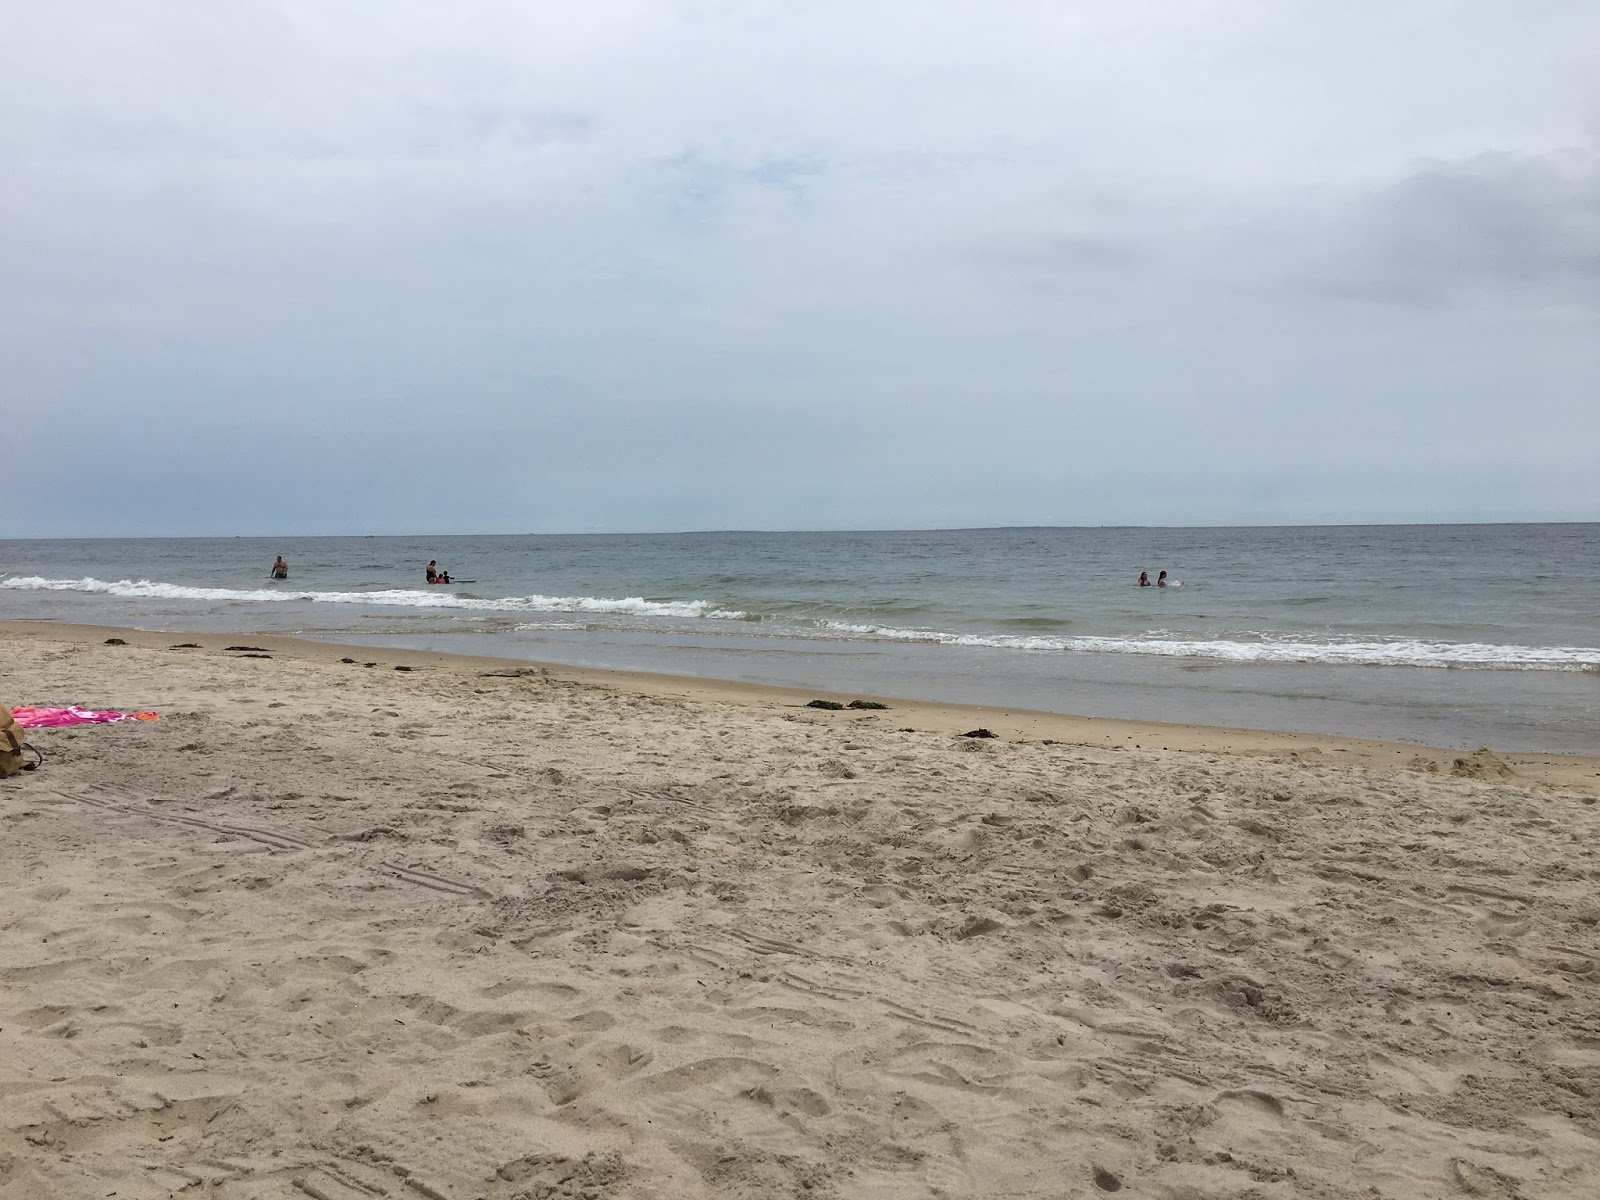
So here I am in Westerly Rhode Island.   Why, you might wonder? Well, I make an annual pilgrimage to the Newport Folk Festival.  Most years I make the trip and leave the family at home.  This year we all went together, including our daughter living in Ohio.  As I drove the I-95 speedway, I was thinking about what I wanted to make with the produce that had been so carefully packed away in the trunk of my car, and exactly how I would balance writing, watching music, and sitting on the beach!

Summer salads are one of my favorite things to make.  A grilled vegetable salad is a great way to use summer squashes and my family just loves it.  This salad travels well (it can easily be taken to the beach), goes well with lots of different main courses (like sandwiches at the beach), and is really easy to make (especially when your beach house doesn’t have the same things in the pantry that you have at home). 

There are almost an infinite number of ways something like this can be prepared.  Use whatever vegetables you have, or whatever vegetables that you like.  A dressing can be made from scratch, or if you’re at the beach with a limited pantry, use a prepared dressing.  Add cheese if you like.  I use feta, a firm goat cheese would also be good.

Grilled Vegetable Salad

2 medium or 1 large zucchini or yellow squash
2 medium or 1 large onion
about 20 kalamata olives (Greek olives) get the pitted ones it is so much easier!
6 oz Feta Cheese
a bunch of fresh basil (if  you can get it)
olive oil
salt (the best you can find…sea salt or something nice is better Morton’s only if you have to)
freshly ground pepper (if you can)

Prepare the vegetables for grilling by slicing the zucchini length wise.  You want it to be about half an inch thick.  So if your zucchini is normal thickness, this is probably in half length wise.  If its really thick you might get three slices out of each.  Slice your onions in half so that you get rings.  Lightly oil the veggies and sprinkle both sides with the salt and pepper.

Prepare your grill.  If you have a gas grill, turn it on and let it get nice and hot.  If you’re using charcoal, let the coals go until they are completely white and at their hottest point.  Place the veggies on the hottest part of the grill.  You want char marks and a little black on the veggies.  Cook the veggies for about 6 minutes and turn them over.  Be careful turning the vegetables.  This is where (especially the onions) tend to fall through the grates and turn into unusable and inaccessible bits of nasty.  Cook for another 6 minutes or so, until the squash and onions are just cooked through.  The veggies should retain some firmness.  It helps the salad stay together. 

Let the grilled veggies cool.  Once they are cool enough to handle, slice the squash into half inch slices, and the onion into quarters.  Put them in a large bowl.  Chop the Feta into small pieces and add that to the veggies.  I like slicing the olives lengthwise into quarters.  Circles also look nice.  Whole olives I think are a little jarring to eat, so be sure to chop them is some way.  If you have fresh basil, chop the bail and add that as well.  If you don’t that is fine too.  I would not recommend dried for this recepie.

For the dressing….at the beach, I would find a nice vinaigrette at the local grocery store and use that.  Balsamic vinaigrette or a decent Greek dressing would do this salad justice.  You can dress this well in advance.  In fact, I think the longer it sits in the dressing the better it is.  Once you have added the dressing, put the salad in the fridge.  It will last several days (if your family doesn’t eat it all by then)

Enjoy


Thursday, July 20, 2017

Week 7 Sandra’s Squash Salad

Corn
Apples
Peaches
Nectarines
1 large onion
1 yellow zucchini
Swiss chard


This week’s box brings the first sweet corn of the year.  Almost everyone loves sweet corn in the summer.  I especially love getting corn that has just been picked.  The longer corn sits, the more of the natural sugars turn to starch.  I always smile at the store watching people husk the corn in the store.  For really sweet corn, you should cook it no more than 15 minutes after removing the husks.  I can’t imagine anyone running home and throwing the corn into boiling water.  Essentially what they are doing is making sure the corn is not fresh when they cook it. 

There are lots of ways to cook corn.  Most people like to boil it.  I’ve seen home cooks who add milk or sugar to the water.  I’ve seen ears totally immersed in water and sometimes steamed.  If I’m cooking in the kitchen, I like salted water heated to a hard boil with the ears added only when the water is boiling.  I cook my corn for about 6 minutes.  Overcooked corn is mushy and kind of gross.  But my favorite way to cook corn is on the grill.  I cut off the ends of each ear, and put the corn on the hottest part of the grill.  Turning every 4 to five minutes, corn is done in about 20 minutes.  It’s especially good when it burns a little bit, and we often fight over the burt pieces.

But this week is about Zucchini, not corn.  A couple of years ago, squash was so abundant, that Great Country Farms was sending squash in every box.  I published about 30 zucchini recipes, and had a great time trying to figure out just what to do with all that squash.  I considered repurposing one of those recipes, when I came up with a better idea…and the idea comes with a story.

Social Media is an amazing thing.  About 9 years or so ago, my sister was organizing an online family outreach project when she discovered a previously unknown relative who lived in Denmark.  After some back and forth, we learned that we had a first cousin who is just a few years older than us that we never knew existed.  Sandra came to the US that summer and met the entire family.  It was exciting to hear her story, learn about her and her family, and to welcome her into our extended family.

We have kept in touch over the years. Family members have travelled to Denmark to see her and her family, and she and her clan come to the states periodically.  She is a wonderful cook and has owned restaurants in Copenhagen, done food styling and is a huge fan of farm to table cooking.  This week’s recipe comes from my cousin.  I’ve made some minor modifications, but the essence is all her.

1 zucchini (1 pound)
½ teaspoon salt
½ red onion
1 small clove of garlic
2 tablespoons extra virgin olive Oil
1 tablespoon sherry vinegar (use red wine vinegar if you can’t find sherry vinegar)
1 handful parsley
1-2 sprigs fresh mint
Freshly ground black pepper
Salt to taste

1. Preheat oven to 400 degrees.

2. Wash the zucchini, trim and discard the ends, and cut crosswise into 1/5-inch thick rounds.  A mandolin or BenReiner is great for this and will give you uniform slices.  If you use a mandolin, be very careful.  They are sharp and cutting a finger is really easy.  If you slice by hand, try to make sure you have a uniform thickness..  Arrange the rounds in one layer on a large cookie sheet and sprinkle them with the salt. Place in oven for 7-8 minutes, until they soften slightly.

3. Finely chop red onion and garlic, and mix onion and garlic with the oil and vinegar in a large bowl.  If you like a little more dressing, make more using a 2 to 1 oil to vinegar ratio.

4. Let the zucchini cool for 30 minutes or more.  Once the zucchini is cool add the squash to the bowl and toss them with the dressing.

5. Finely chop the parsley and the mint leaves.  Add the parsley and mint to the squash and mix the salad well.  Be gentle so that the zucchini stays whole. Top with freshly ground black pepper and salt to taste.


Enjoy!


Thursday, July 13, 2017

Week 6 Kale!

1 head of red cabbage
1 head of broccoli
a bag of peaches
a bag of green beans
1 bunch of kale
1 bunch of onions
1 zucchini


This week’s box holds some interesting treats.  I like getting things that can have extended growing seasons and may come in either the early Summer or Fall.  Multiple plantings make for a very long green bean season. Kale is a great spring green that also will survive fall frosts.  I believe its even better when it has survived a frost.  Broccoli is another great early and late vegetable.

Broccoli is fun to pick.  The part we eat is actually a flower.  It grows in the center of the plant.  Mature, Broccoli is about two feet tall, and is fairly easy to pick.  Several years ago, Great Country Farms had quite a bit of Broccoli available very late in the season, and invited CSA members to pick an unlimited amount.  I came out and picked about ten pounds thinking I would freeze what didn’t get eaten immediately.  After all, frozen (when you’ve picked it yourself) beats store bought every time.

I did the very best job I could cleaning what I had picked.  Everything got washed and processed, and put into freezer bags.  What didn’t get frozen went into the fridge to be eaten later in the week.  When I went to cook the Broccoli a couple of days later, I must have been a little nonchalant in the washing process.  Sure enough, caterpillars showed up on my middle daughter’s serving of Broccoli….not one, not two…three.  My bad joke about finding half a caterpillar being worse than finding a whole caterpillar didn’t help things.

But today’s recipe isn’t about Broccoli.  Its about Kale.  Kale is a wonderful super green.  It is delicious in smoothies, dried as chips, raw in salads or cooked like spinach.  I love kale in almost every way it can be cooked.  Today's recipe is a cooked salad.  This would also be very good raw.  If you go raw, dress the salad just before serving.  You could also add red peppers, carrots and other veggies to give the dish some color.

Week 6 Kale Salad

1 large bunch of Kale
1 small onion sliced thin
2T low salt soy sauce
1T Sesame oil
1T toasted sesame seeds
1 garlic clove finely minced, or 1T garlic scrape finely chopped 
2 T honey
1 T Rice Vinegar

Be sure to wash your Kale.  Sand and dirt love to get into the nooks and crannies of the leaves.  Kale has also been known to be the home of the occasional clingy bug.  If they’re damaged or not nice looking, feel free to cut the very ends of the leaves off and discard them.  The rest of the leaf is completely edible.

Cut the leaves off of the thickest part of the stem.  Chop the leaves into one inch lengths.  Cut the stems into one inch slices.  Place the stems into ½ cup of boiling water to steam (you will want a large sauté pan for this step, the Kale will cook down quickly, but a large pan to start is best).  Steam the stems for just a couple of minutes, until they just start to soften, then add the leaves, you will have a big pile of Kale, but it really will cook quickly.

Once the Kale has cooled to a point where you can easily handle it, place it in a strainer, and squeeze out as much liquid as you can.  Discard the liquid, but keep the Kale.

In a separate bowl, mix the soy sauce, sesame oil, garlic, honey and vinegar.  Pour the dressing over the Kale, add the onion and chill for at least 30 minutes.  Just before serving, top with the sesame seeds.

Enjoy!


Thursday, July 6, 2017

What do I do with this Box Week 5

A large bag of red skinned potatoes
Swiss chard
A large bag of onions
Green beans !
A large bunch of Arugula
Donut Peaches!


The summer treats are starting.  Getting green beans this early is yet another Great Country Farms surprise.  Farmer Mark has several plantings, so we’re going to be in beans for a while.  Beans are one of the items that are sometimes available as you pick at the farm.  Picking beans in large numbers is back breaking work.  When we joined the CSA many years ago, I wanted my kids to develop an appreciation for where there food comes from, and the physical nature of harvesting food.  Picking beans is perfect for that.

Last week I wrote about peaches.  There are over 2000 peach varieties that are either white, yellow, freestone or clingstone.  They vary in size, sweetness and ripening timing.  Of all the varieties, donut peaches are my family's favorite.  Donut peaches look like a normal peach that has been squished in the middle.  The result looks like a donut!  These peaches are exceptionally sweet, have a very small, freestone pit, and get eaten like popcorn in my house.  I have to hide one or two in the fridge to make them last more than a day or two.  We typically see them for a week or two in boxes and then they’re gone for the year.

But this week is all about Arugula.  Until this year, I had no idea what Arugula looked like on the plant.  It’s easy to buy a bag or box of arugula at the local grocery store.  I like arugula for its bitter peppery taste, and love the intense flavor it adds to salads and sandwiches.  But Arugula doesn’t grow in a bag or a box.  It is a tall plant when fully mature, with long tough stems and pods that will flower if left to their own devices.  It looks like something I would pull out of my garden as a weed (if I didn’t know better)

As a green, arugula adds to almost any salad.  It accents green leafy vegetables and goes really well with a wide variety of vinaigrettes.  I’ve had arugula on top of pizzas, added as a base to a variety of appetizers and other finger foods, and as a way to make subs and sandwiches more flavorful.  Arugula is also delicious cooked.  Like spinach and kale, Arugula has enough flavor to hold up in a variety of dishes.  One of my favorite ways to enjoy cooked Arugula is with pasta.

Pasta is one of the most versatile foods we eat.  Americans eat over 15 pounds of pasta per person per year.  Compare that to Italians, who eat over 50 pounds per year.  Most Americans purchase dried pasta, spaghetti being the most popular form.  Pasta is also available fresh, and can be easily made at home.  Fresh, home made pasta is a real treat, and is not particularly difficult.

Sauces come in almost as many varieties as the imagination can create.  Typically, American's top pasta with a tomato based red sauce.  It’s a little early for tomatoes, and I’ve used all of the sauce that I made last summer and froze.  So, I’m going to create a sauce using fresh Arugula, basil, fresh tomatoes and Parmesan cheese.  It is light, perfect for the summer, and simply delicious.

Week 5 Pasta with Arugula and Tomato

1 1b pasta
2 quarts water
2 T kosher salt

1 T Olive oil
2 cloves of garlic finely chopped (if you have scapes left, this is a great way to use them!)
½ medium onion sliced thin
3 cups (or more!) fresh Arugula
2 cups tomatoes (cherry tomatoes, whole.  All others cut into large chunks)
1 cup finely grated Parmesan cheese
2 T chopped fresh basil
fresh pepper to taste
1 cup or more of the water you cooked the pasta in

Bring the water to a hard boil.  Add the salt.  Your pasta water should taste like ocean water.  Add more salt if needed.  This is an important step, the salt in the water adds flavor to the pasta, and ultimately, to your sauce.

Cook the pasta until it is just done.  Pasta should retain some firmness without being crunchy.  Look at the package for timing.  Thicker dried pasta can take 10 minutes or more, thinner fresh pasta can cook in 2-3 minutes.  Be sure not to overcook your pasta.  It will get mushy and gross if you do.  Don’t dump the water.  You need it for your sauce.

While the pasta is cooking, heat the oil, add the onion, cook until just soft.  Add the garlic being careful not to burn the garlic. Cook the onion and garlic mix for a couple of minutes, then add the tomatoes.  Let the tomatoes release their liquid, then add the basil and Arugula.  Cook this sauce until the Arugula wilts.  The Arugula will cook down considerably. Slowly add the pasta water to create a sauce.  Add ¾ of the grated parmesan cheese and stir to incorporate the cheese into the sauce.  Add the pepper and taste.  Adjust seasoning, add more cheese if needed.


Serve immediately.  Top with the rest of the grated parmesan cheese.